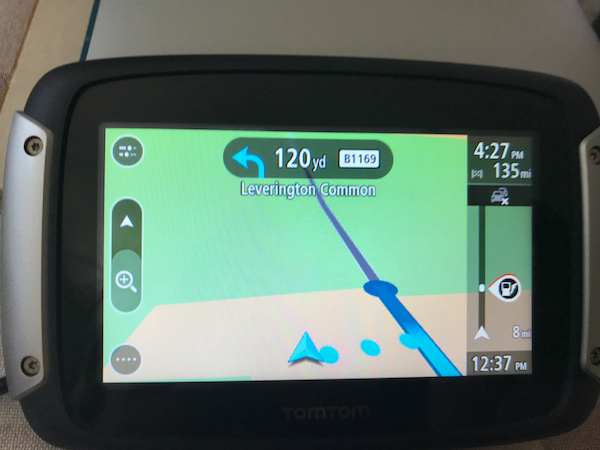
How to use myroute app for club runs
In recent years we have switched from tulip maps (except for navigation runs) to using sat nav route files so that people have the routes with them and it reduces the incidents of getting lost - well that is the theory. The results with the route files have been variable due to the way different devices calculate the routes.
Anyway the following guide is aimed to help you work through this system.
The first thing you need to have is a satnav unit that can understand route maps. Based on the information available I think you have the following options (if purchasing brand new).
TomTom - the only TomTom models to support route maps are the Rider series intended for motorcyclists, they are premium items costing over £300 each. Another option for TomTom is to get one of the older XL or XL-One units but these can cost over £50 depending on eBay demand and they are all around 10 years old and no new maps have been released since the end of 2016.
Garmin - unlike TomTom the entire Garmin range from the cheapest £100 option to the top of the range all support full trip planner functionality.
Mobile app - this is the cheapest way, myrouteapp.com do their own satnav which runs on either iOS or Android devices. This will cost you €20 that is euros not pounds a year or €1.66 a month. You will however need a suitable bracket to mount the phone and a power lead so the phone battery doesn't die with the effort of running the gps all day.
There will be separate instructions for each of the sat-nav units later in this article.
Ok assuming you now have a suitable device, how do you make use of it.
Well if you have gone for the mobile app option above you will already have an account on myrouteapp.com, if you have one of the physical devices then go and create an account on this service, the basic level of membership is free it is only when you want the advanced features that the cost goes up.
Once you have signed in to the website, use the search function to look for EATOC, this is a private group that you can request to join. Is is fairly easy as it has the club logo at the top of the page. Once you send an invite one of the group admins will add you to the group.
Alternatively do a search for one of the members I.e. Giles Cooper, Allan Griffin etc and ask to be their friend.
Now you can find a route and load it to your satnav.
Please note the instructions are fairly involved and need to be followed exactly.
Part 1 (Garmin or Tomtom
1. Find the route you wish to use and open it up. You will get a screen similar to the one below.

2. Click on Export - if this is the first time you have done this you will need to install the connector this is available for both Windows and Mac machines
3. Once the connector is installed connect the satnav to the computer
4. Open the connector (you may get a security prompt) and the following screen will display
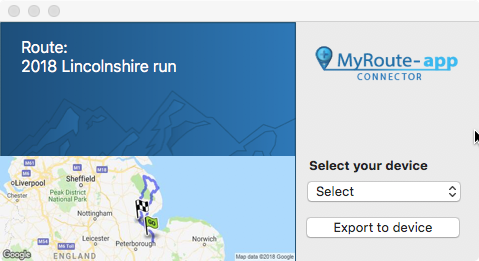
5. At this point the procedure changes for using a Garmin or Tomtom device.
Part 2: Garmin Devices
1. Ensure the device is connected properly (you can see the drives showing in windows explorer or OSx Finder)
2. From the "select your device" dropdown box choose Garmin GPX 1.1
3. Click on Export - and the route will be copied over to the device.
4. Next disconnect the satnav from the computer and reboot it.
Note from this point on all the work is on the satnav itself
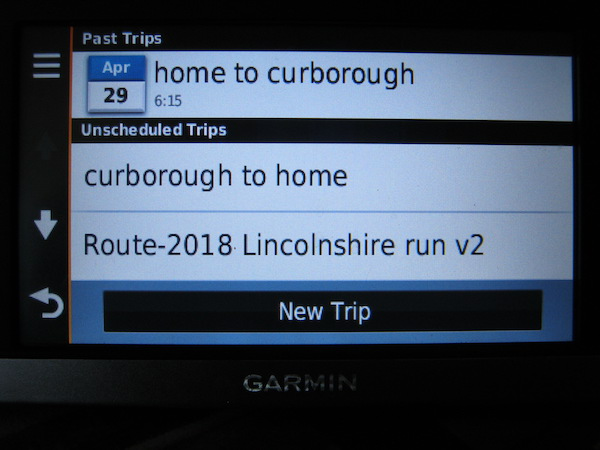
5. From the front screen select apps
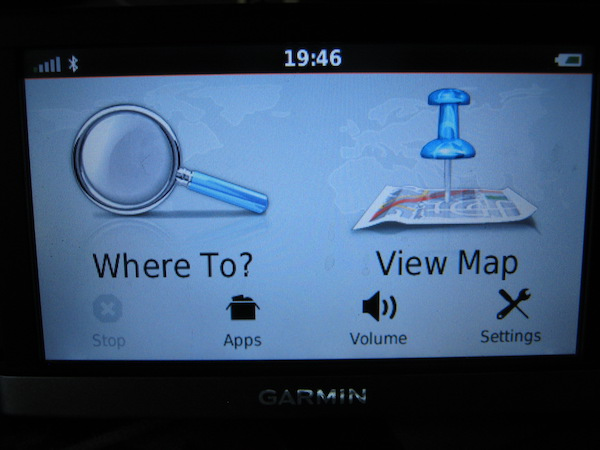
6. Scroll Down to the Trip Planner option
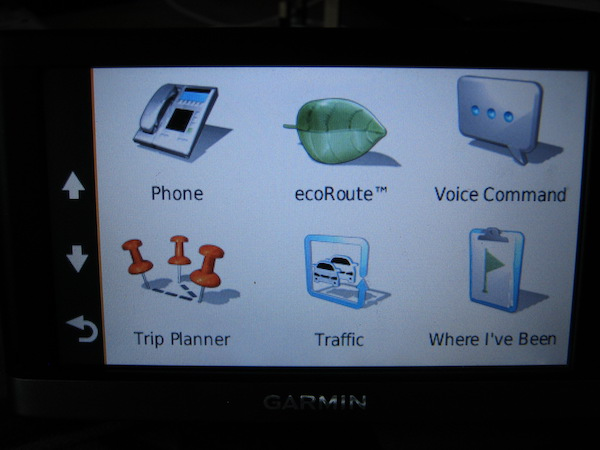
7. Select the route you just imported from the list
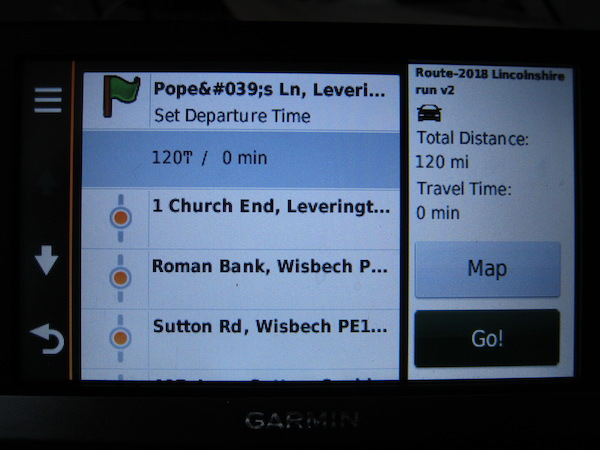
8. This is where it gets interesting. Due to a quirk in the firmware the garmin interprets the routes as waypoints and gives you a straight line between each one. This isn't much good for driving as it doesn't match the roads. This may not occur on some Garmin models but if it does the screenshot will be like the one below. What we need to do is convert the markers to route details.
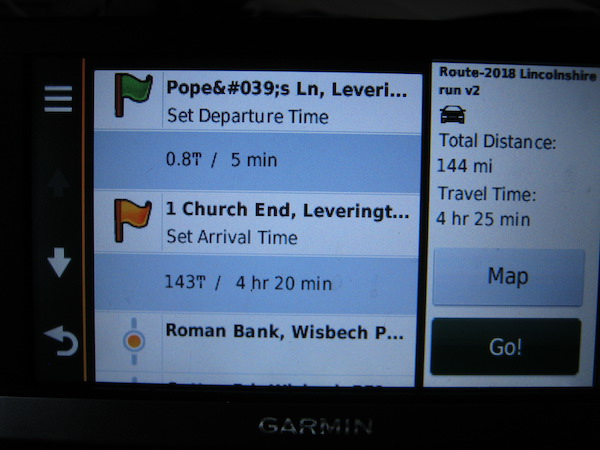
9. To do this tap on each of the circles one at a time there will be a brief pause and the satnav tells you it is calculating the route. The screen will then change when it has worked it out. As you can see in the screen shot the distance has changed between the first two markers and the marker has changed to a flag. You will need to repeat this for each of the markers in sequence until you reach the end of the route.
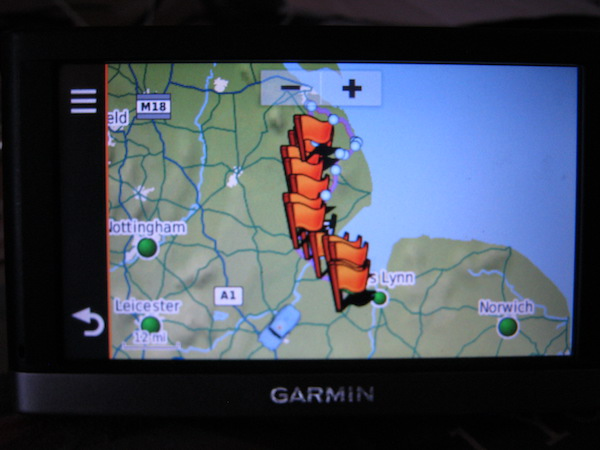
10. Once you have done that if you click on the map button you should get a picture with all the markers as flags. The picture below shows about half the route done as you can still see some of the small markers on the screen.
11. Now all of that is complete we can drive the route. Assuming you are driving this later you can shutdown the satnav and later on repeat steps 5-7 again to get back to here. If you are driving it straight away click on GO. Now you can choose the next stop you want - if you are starting at the same point as everyone else then select the first point (to get you to the start) otherwise choose your starting point (the key meeting points will be labelled on the route) and click start.
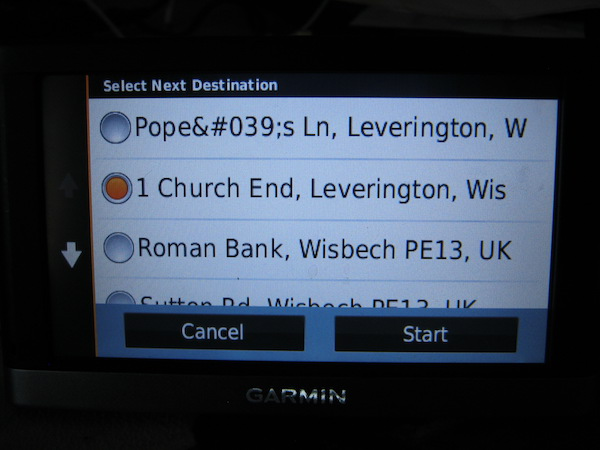
12. If you get completely lost and the satnav is trying to bring you back to certain waypoints. Follow this quick procedure to get back on track.
- Exit the map
- Click Stop
- Get back to the route information
- Look for something ahead i.e. lunch stop where you know people will be
- Choose that as next stop and click start
Part 3: TomTom Rider Devices
1. Ensure the device is connected properly and powered up - Do not connect through the car mount but use the usb socket on the back of the machine.
2. On the satnav display click 'import routes' 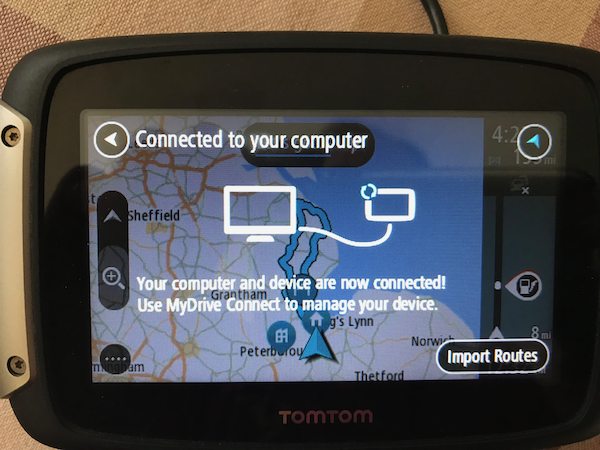
3. Go to Myrouteapp - choose and route and press export - note the first time you do this you will need to install the mac or windows connector software.
4. On your computer From the 'select your device' dropdown box choose TomTom Rider GPX 1.1
5. Click on Export to device - and the route will be copied over to the device.
6. The computer will confirm the route has been exported.
7. Note from this point on all the work is on the satnav itself
8. Click done on satnav.
9. From the screen shown below check the router you wish to use and click import.
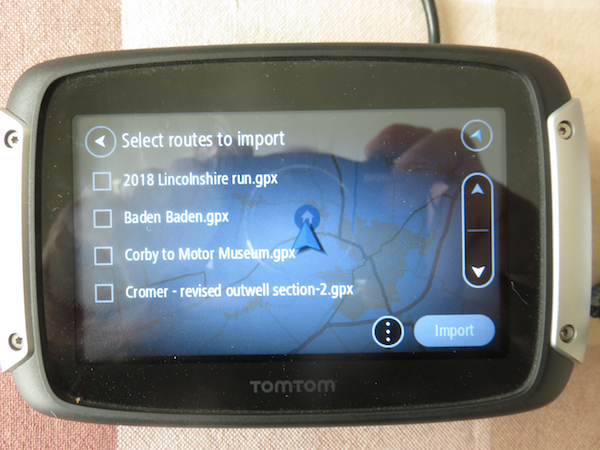
10. The unit will confirm that the route has been imported. Press OK. If you are using this route immeadiately skip to instruction 14.
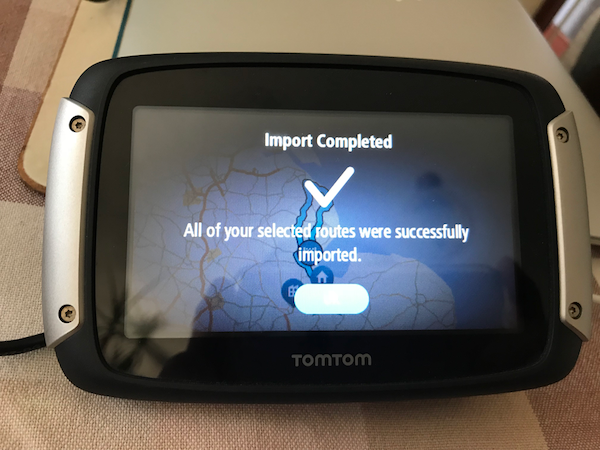
11. If you want to use the router at a later time follow these instruction. From the main menu select my routes.
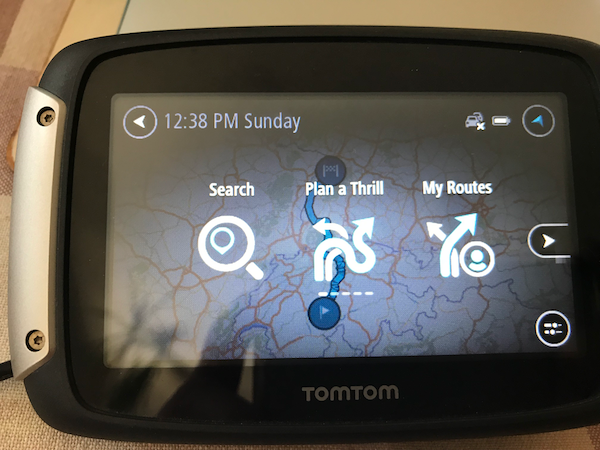
12. From the list of routes select the one you wish to use.
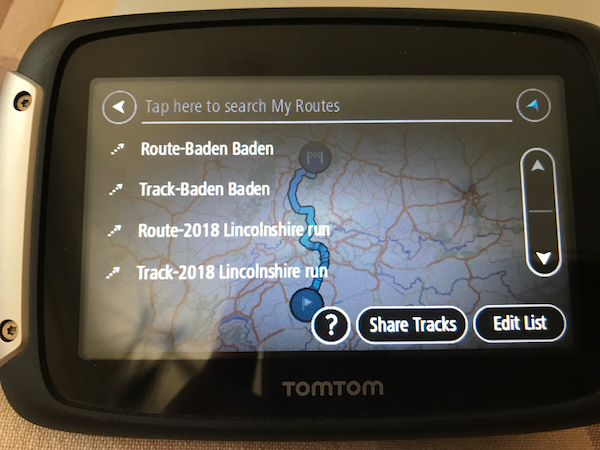
13. A preview of the route will appear on the screen. Click the RIDE button at the top of the screen.
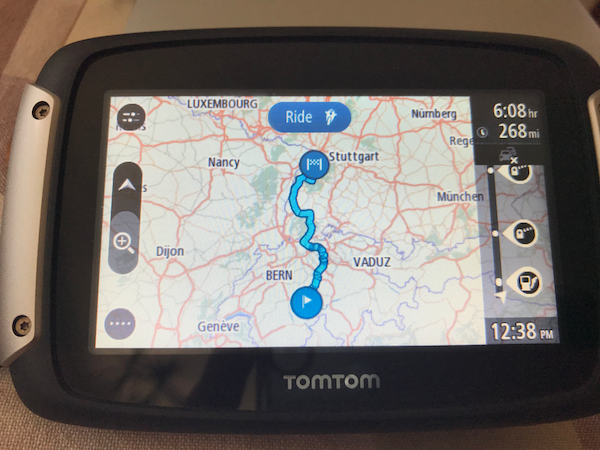
14. Finally click Lets Go button to make the satnav start navigating the route.
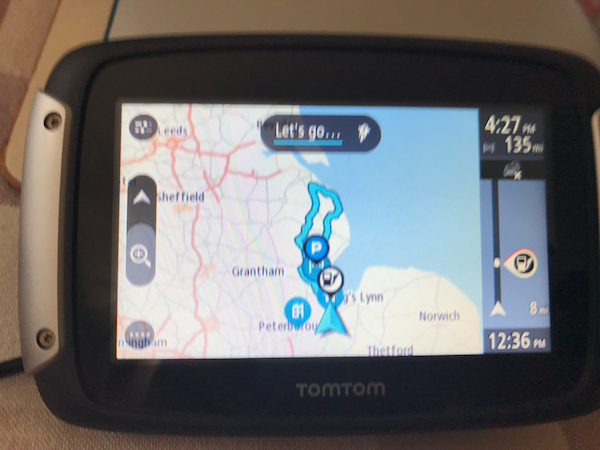
15. The satnav has changed to the normal mapping screen.
